Kelby Training Tim Wallace Post Processing for Automotive Photography (2012)
Kelby Training Tim Wallace Post Processing for Automotive Photography (2012)
English | Duration: 1h 10m | H264 | 1280x720 | 29.97fps 1905kbps | AAC 44.1KHz | 959MB
English | Duration: 1h 10m | H264 | 1280x720 | 29.97fps 1905kbps | AAC 44.1KHz | 959MB
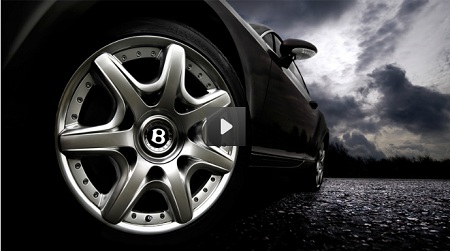
Commercial photographer Tim Wallace is joined by Kelby Training’s own Matt Kloskowski back at the computer to get a first hand look at Tim’s workflow after returning from a shoot. Tim takes you through every step in his process of editing a series of exposures taken during his Environmental Light and Automotive Photography class and putting them into a final master image. Along the way you’ll learn professional tips and tricks for using Camera Raw and Photoshop that you can put to work on your own images right away!
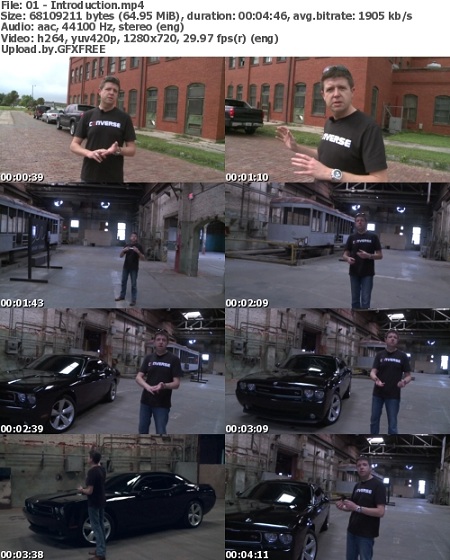
Introduction (02:26)
Join Tim and Matt as they discuss the shots they will use in this class and Tim's approach to post processing.
Analyzing the Frames (03:34)
Tim explains the purpose of each exposure he captured on location, and how they will all work together to create the final result.
Car Exposure (05:08)
Starting in Adobe Camera Raw, Tim works on fine tuning the first photo to get the best results on the car itself.
Tweaking the Front End (07:11)
To tweak the exposure on the front end of the car, Tim takes the original raw photo back into Camera Raw with the intention of blending it into the base exposure of the car back in Photoshop using a layer mask.
Background Base (05:56)
Time for the capture that will serve as the background base layer to head into Camera Raw for basic processing.
Blending the Background Layers (05:17)
The background layer is crucial to the atmosphere of the photo. Using a layer mask to blend the 2 processed versions together allows for the best mix of shadow and detail.
Bringing Out Detail (07:58)
Tim shares a neat trick using blending modes to bring out detail with a great level of fine control.
Merging the Car and the Background (09:13)
The surface of the car reflects the background environment, so it is important
to blend the exposures together before making final tonal adjustments to make the results seamless.
The Floor (13:09)
During the actual shoot the last frame of the day was made after wetting the floor with a hose to create a shot with the car's reflection in the surface of the floor. Now it's time to process the floor shot in Camera Raw, then bring it into Photoshop and blend it into the final image.
Closing Tips (10:48)
Tim wraps up the class by sharing a few tips for adjusting the shadows and highlights without touching the color while working on a new photo from a different shoot.
Course Time: 01 Hours 10 Minutes
More info:
_http://kelbytraining.com/course/twallace_car4/
 Download Links:
Download Kelby Training Tim Wallace Post Processing for Automotive Photography (2012)
1 comment
Kelby Training Tim Wallace Post Processing For Automotive Photography (2012) >>>>> Download Now

>>>>> Download Full
Kelby Training Tim Wallace Post Processing For Automotive Photography (2012) >>>>> Download LINK
>>>>> Download Now
Kelby Training Tim Wallace Post Processing For Automotive Photography (2012) >>>>> Download Full
>>>>> Download LINK